Showing posts with label adventures in crafting. Show all posts

Monday, December 7, 2015

Anja Got Married!

image
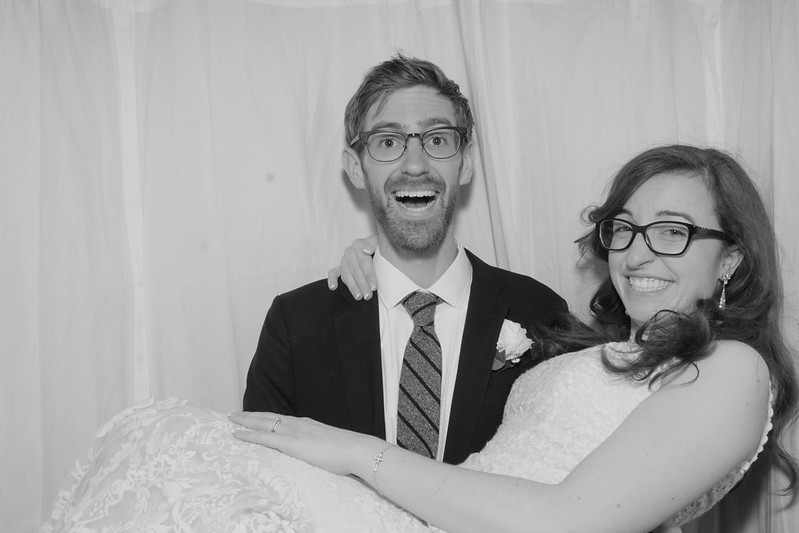
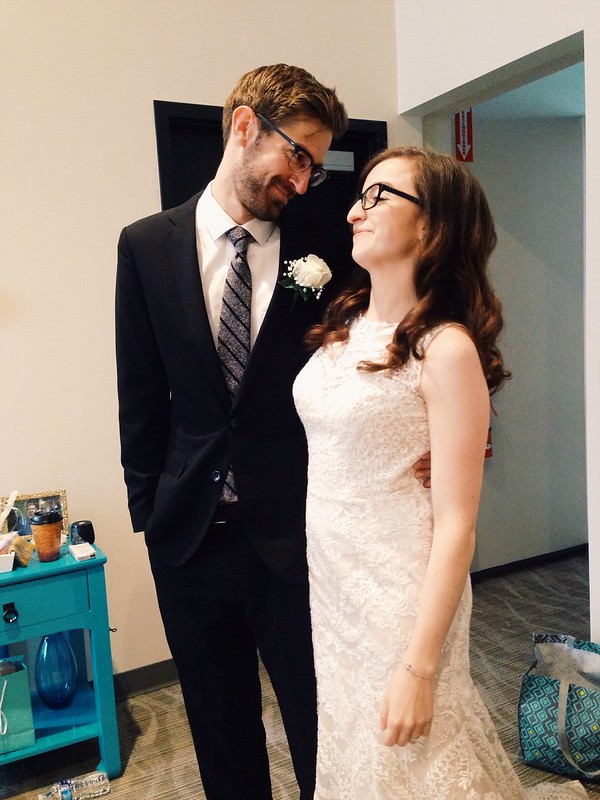
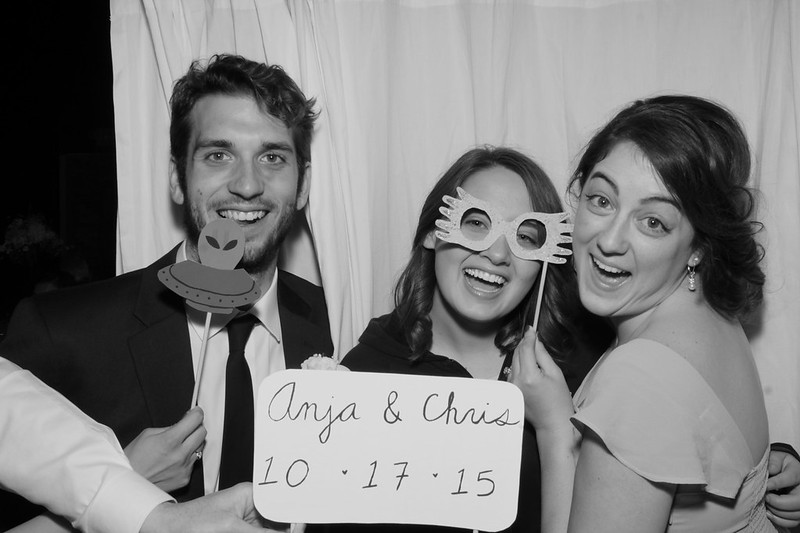
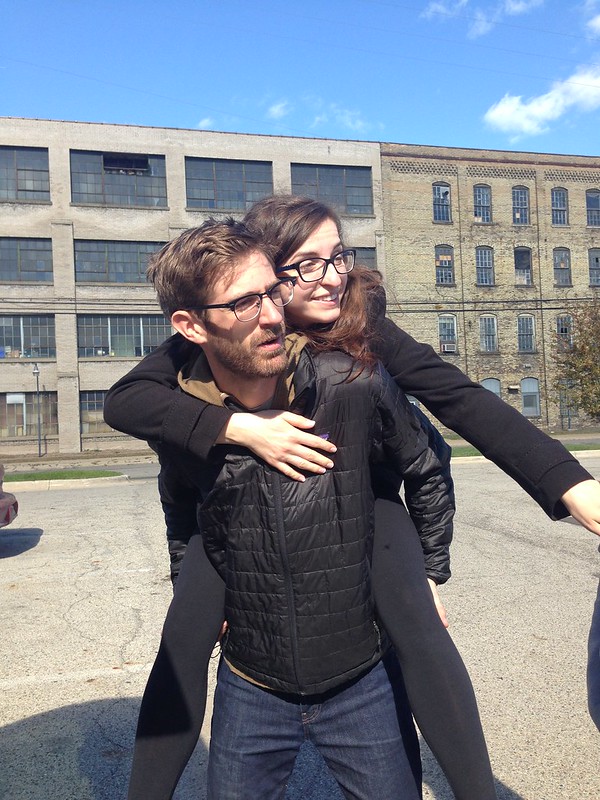
As I'm sure you're aware, if you've been reading this blog or have looked at my Instagram or have talked to me since May, one of my best friends got married in October. I've been to a lot of weddings and I can honestly say I have never been to a wedding that filled me with so much joy and love as this one. Just look at these two! The love they have for each other radiates out of them and bounces off of everyone around. I swear, the room gets brighter when they walk in. They're so special to me, and I was honored to be a part of their celebration.

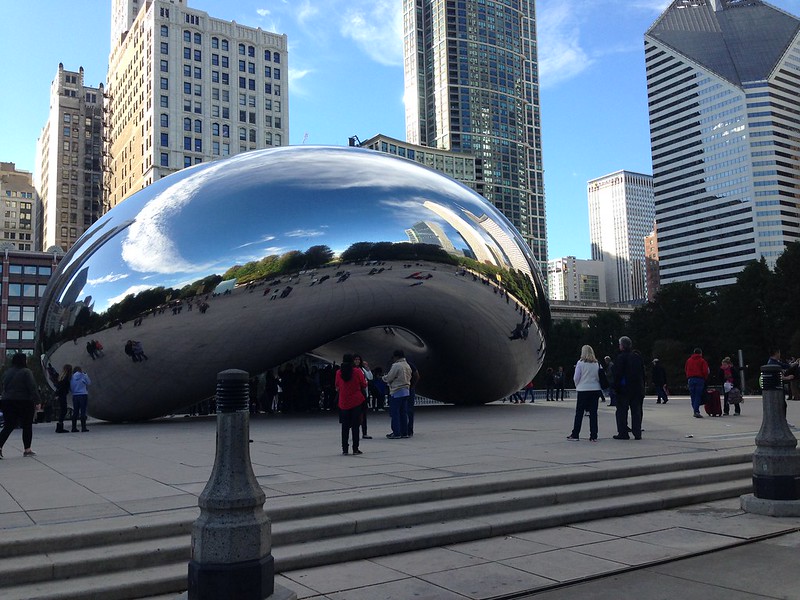
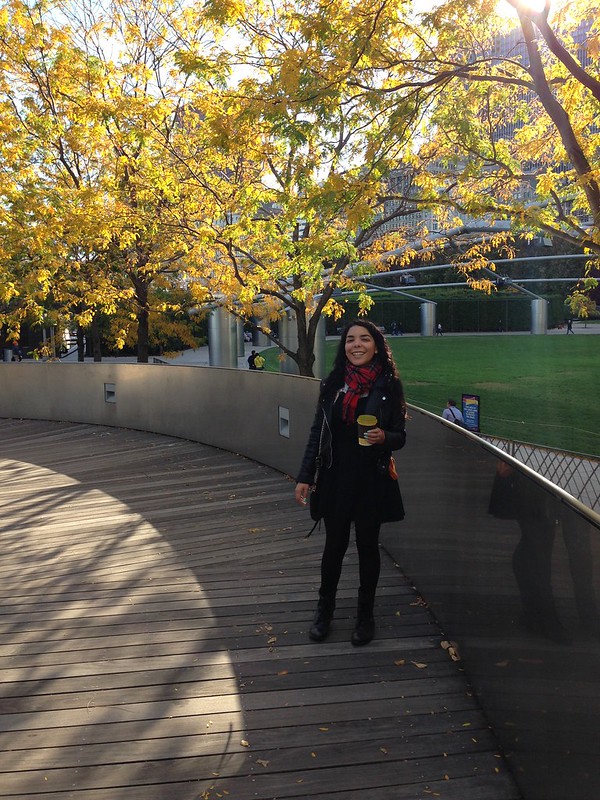
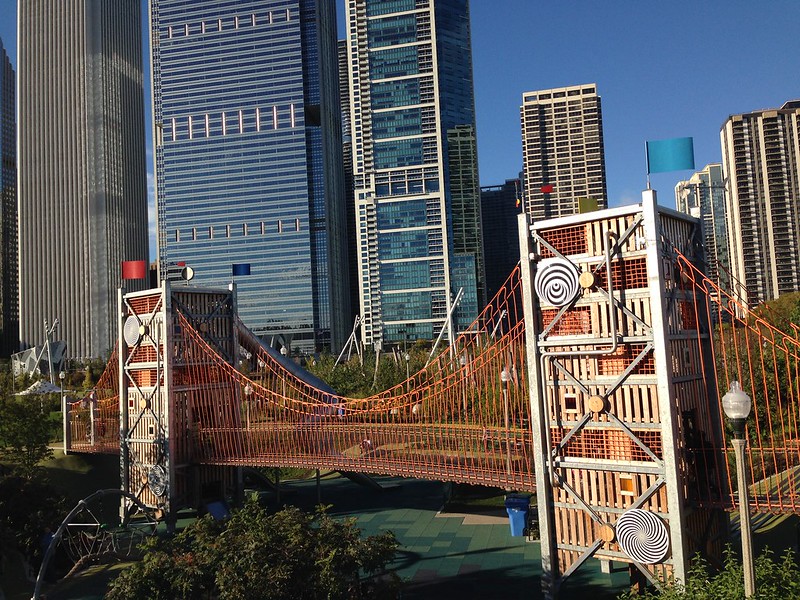
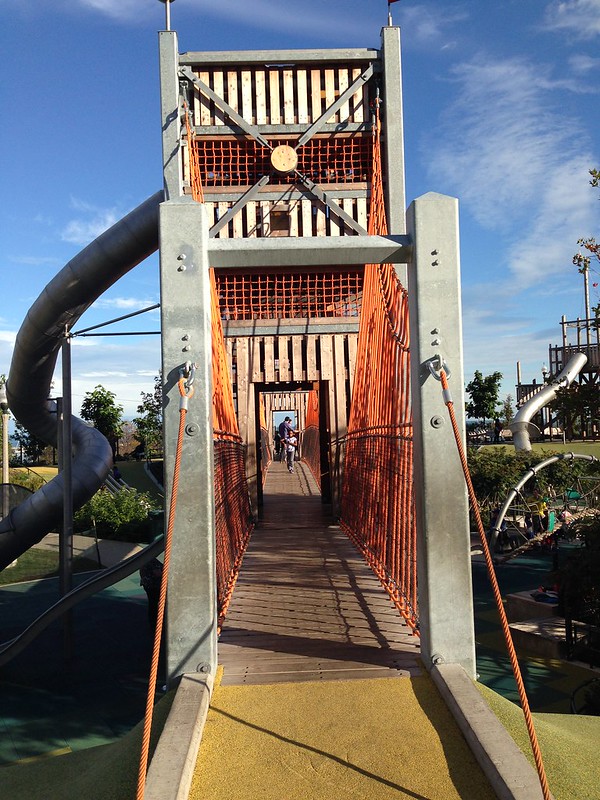
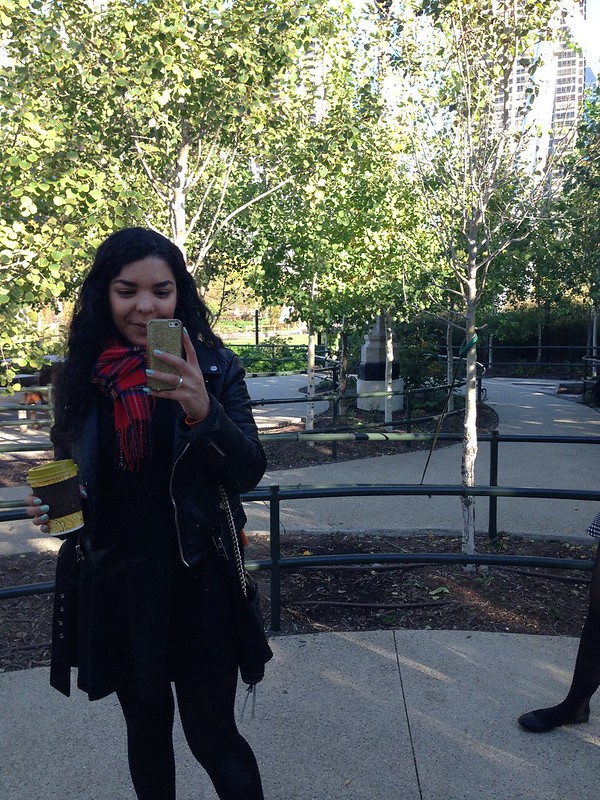
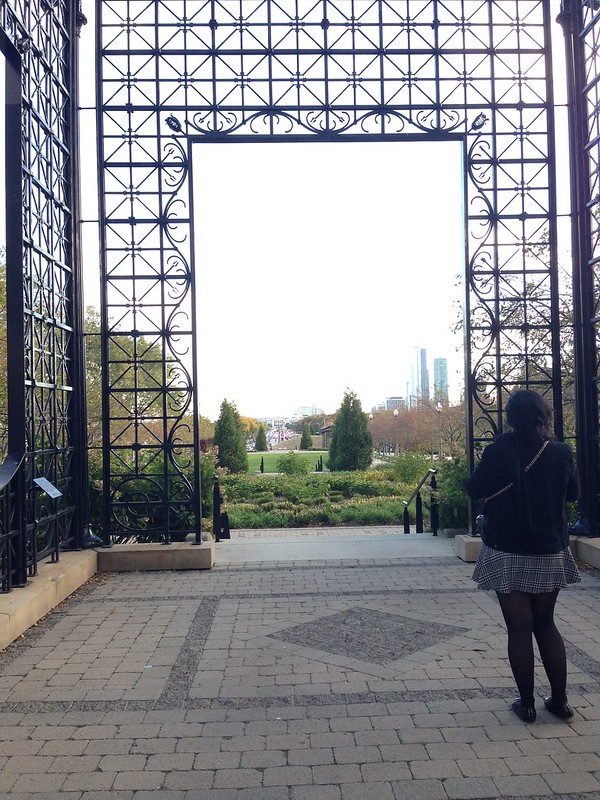
Mandy and I headed to Chicago a few days before the wedding, so we had a day of just exploring Chicago before it was time to head to Grand Rapids for the main wedding festivities. We wandered over to the most magical children's park I've ever been in, said hi to the Bean, and enjoyed walking around in weather that actually resembled fall.

image

image


image


image

image

image

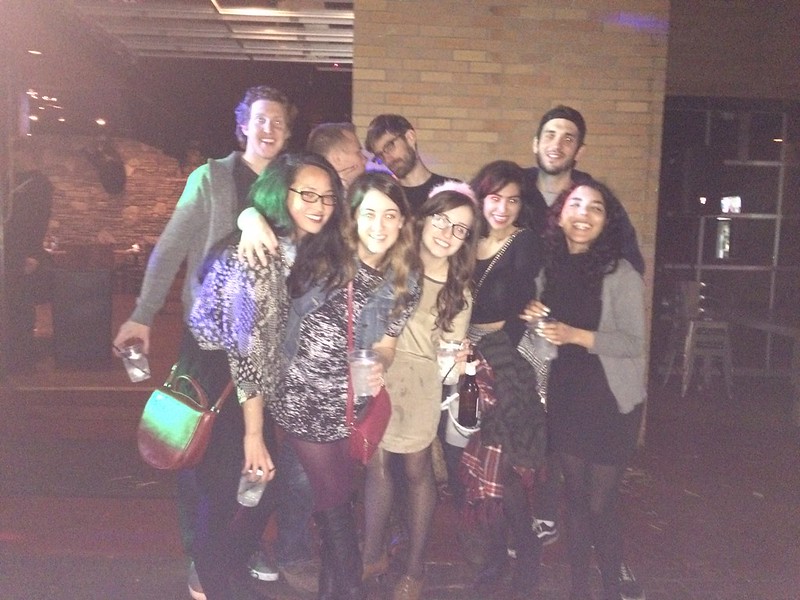
Once we arrived in Grand Rapids we had Anja's bachelorette party, in which dueling pianos played a cover of the remix to Ignition for her and we eventually met up with the groomsmen despite actively trying to avoid them (Grand Rapids is pretty small). Easily the best bachelorette party that's ever happened in the history of the world. Hands down.
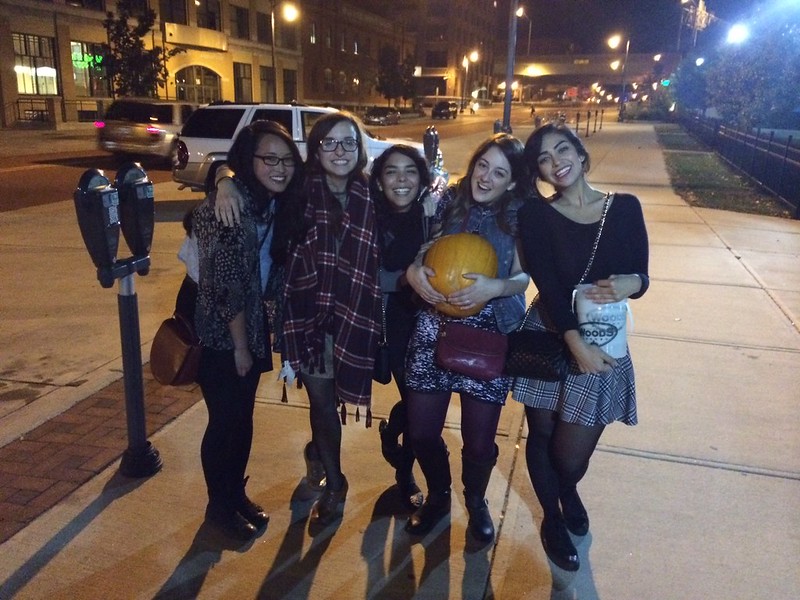
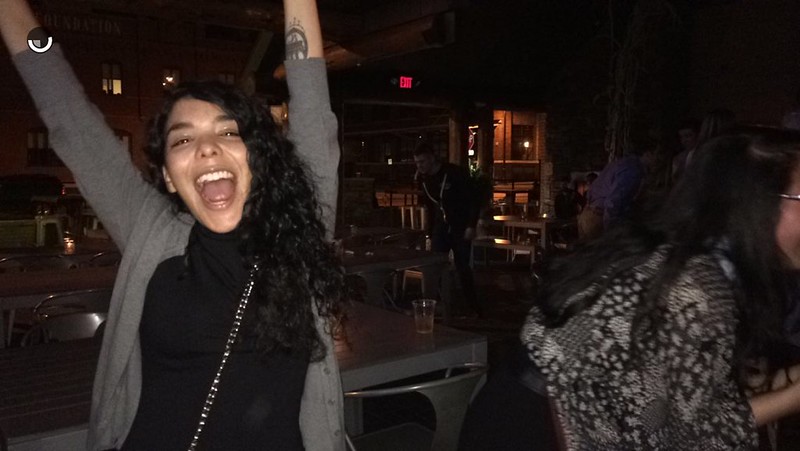
image

image

image
See? Proof.

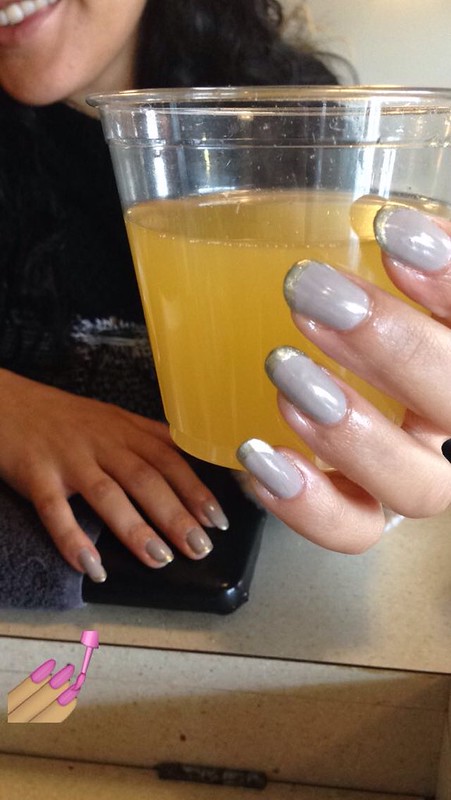
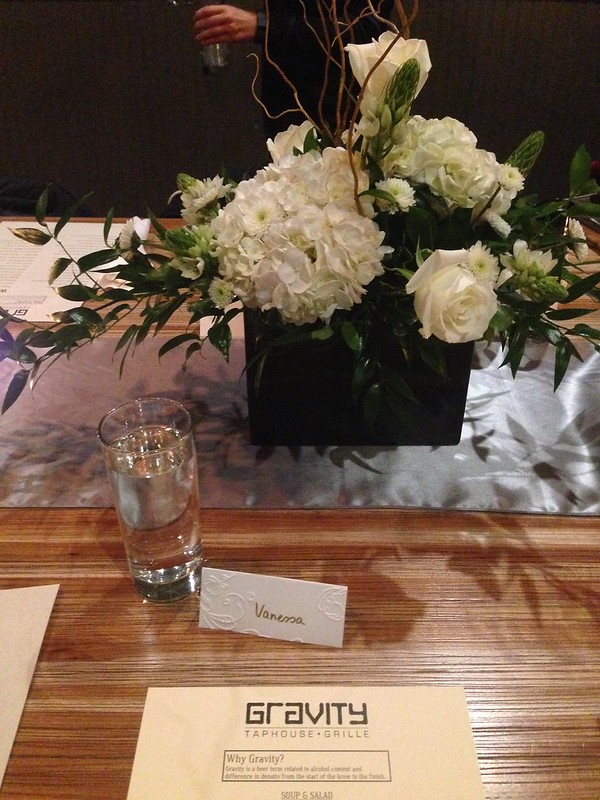
The next day we got our nails done as the last bit of pre-wedding prep, went to an apple orchard, and had the rehearsal dinner.
image

image


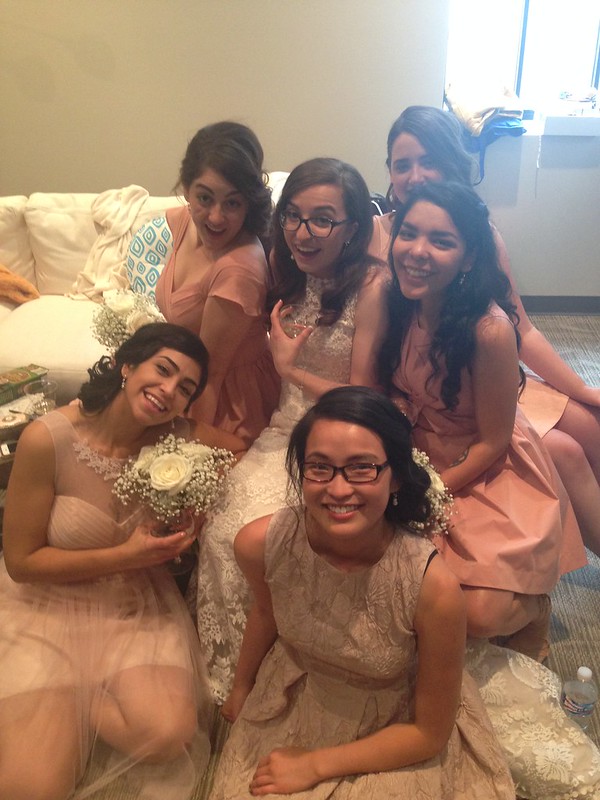
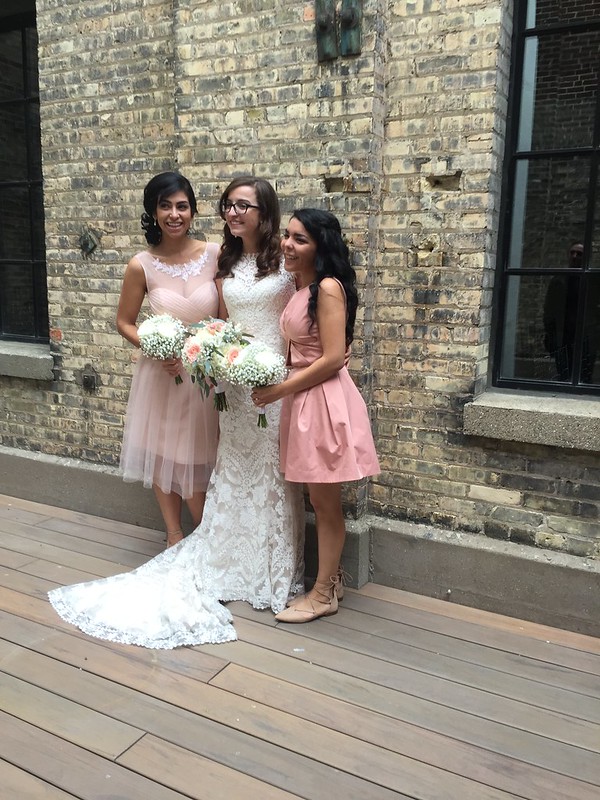
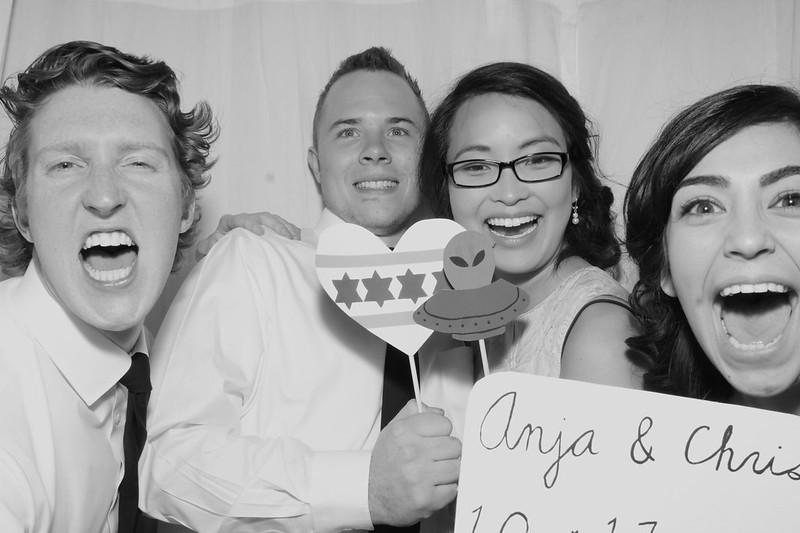
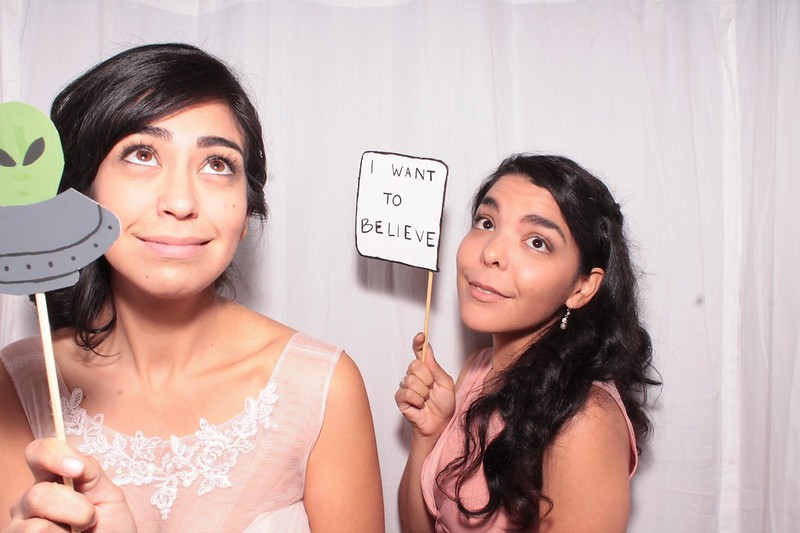
And then it was the big day! So many tears were shed, it would have been impossible not to because there was so much love in that room. I'm also happy to report that my photobooth props photographed well, because I'm not going to lie I was quite stressed about that.

image

image

image

image

zb28-4

zb28-1

647h-2

Then it was time to come back to LA! I already have big things planned for Chicago, how could I not when these guys live there?

image

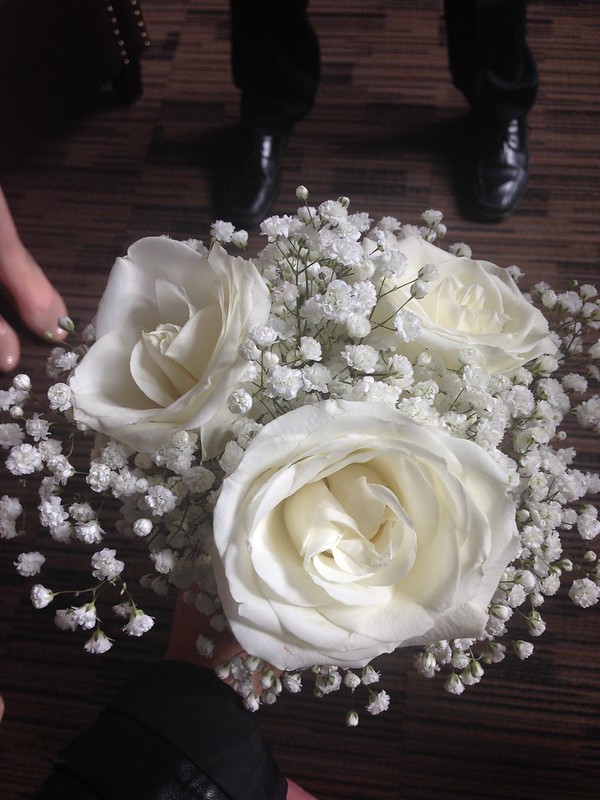
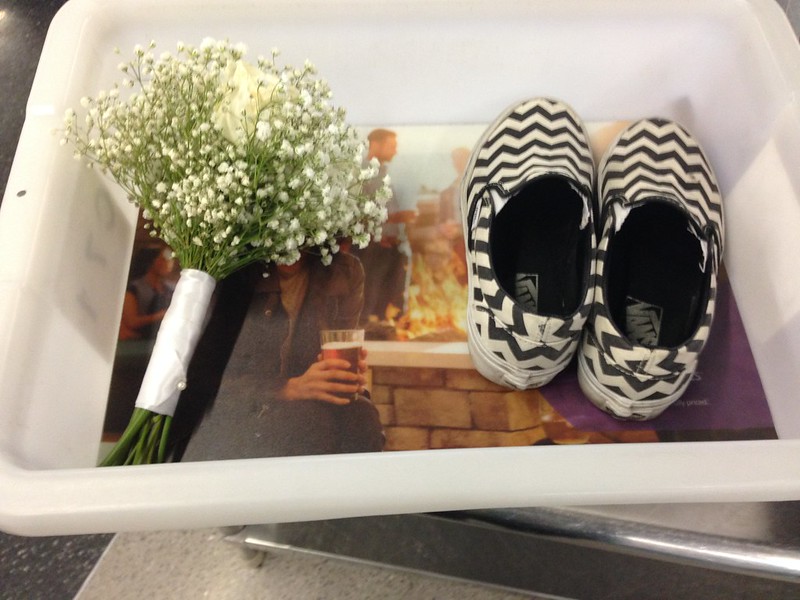
Also, if you were wondering, yes I did carry my bouquet halfway across the country so I could put it on my shelf in the glass I got at Three Dots and A Dash. I regret nothing.

image

<3

Sunday, December 22, 2013

Deck the Halls! Part 5: Bonus Round

I mentioned wanting to have some Christmas decorations in my room, and as much as I wanted a real mini Christmas tree, I had to admit that my mom was right and it probably wouldn't fit in my room. In the end I decided on this mini fake tree that I snagged at Target. I was hoping for a white one, but this gold one has done the job well.

I decorated it with some paper ornaments that I folded following the directions on this pin, as well as the 2 ornaments I had posted about earlier.

The topper on this guy is a little bow I made out of the pages of a magazine I had lying around.

I hope you guys are having a pleasant holiday season!
<3

Tuesday, December 10, 2013

Deck the Halls: Part 4! The finished product

Christmas Tree
I've never felt an emotional connection to a Christmas tree before. The tree is always just there, and it looks pretty but that's where my Christmas tree thoughts end.

Not this year. Seriously every time I walk past the tree I think about how much I love it, and I frequently find myself just staring at it adoringly.

Christmas Tree
So let's talk about this gorgeous thing!

I've already told you about the ornaments and the tree skirt; it's kind of frustrating but mostly hilarious that the glittered stars are the showstoppers on the tree. Hours I spent fringing the other stars and they don't look nearly as pretty as the ones that took 5 minutes. The other ornaments are the ones we had already. We have some colored ones but we decided to go for a silver, gold, and blue theme this year.

Christmas Tree
Christmas Tree
Christmas Tree
Christmas Tree
The top is what I am most proud of. Me and my mom were in Macy's in September (not an exaggeration, it was literally September) and they had Christmas trees up already. In all the trees they had flowers or feathers bunched up at the top and we really liked the look of it, so when we went to Michaels on our Christmas craft excursion we got a few bunches of fake flowers to try to recreate the look. It turned out to be incredibly easy and I love the way it makes the tree look. We just cut the flowers off the main stem with a wire cutter and stuck them in! That's all it took, and the tree instantly looked more posh.

Christmas Tree
Christmas Tree
The tree topper is the first real tree topper we've ever had, we bought it at Target this year. Usually we use this paper angel that I colored in the 3rd grade, but I thought it was time for an upgrade.

Honestly, this tree gives me so much happiness that I'm starting to understand people who leave their trees up all year. Although I'm probably not going to do that. Probably. No promises.

Christmas Tree

Saturday, November 23, 2013

Deck the Halls! Part 2

So for the second installment of this series I'll talk about the star shaped ornaments that inspired my trip to Michael's in the first place.

Again, these were inspired by a pin (this is a trend you'll see carry out for the rest of the Christmas crafts). I loved the look of these piƱata-esque star ornaments so I decided to try to make some. I started out with 6 paper mache stars and painted them all a pearl white that I found in the craft closet.

After the base coats were all dry I set out cutting and fringing strips of paper in 5 different colors. I chose gold, silver, and blue mylar with white and blue tissue. Once I had the paper cut and fringed I covered each facet of each star. These ornaments were substantially more time consuming, which is why halfway through I decided three was probably enough. I love the look of the finished product but in the future I'll probably stick with just tissue paper on a project like this. The mylar did not want to cooperate with being glued down to the star base. So if you take on something like this, just keep that in mind.

ORNAMENT FRENZY
ORNAMENT FRENZY
ORNAMENT FRENZY
ORNAMENT FRENZY
ORNAMENT FRENZY

After hours and hours of fringing paper, I wanted to do something easy with the last three stars. I was really happy with how the pearl white came out, so I decided to glitter the lines and leave it at that. Some of them ended up a little sloppier than others, but they're going to look dazzling on the tree and that's all that matters.


ORNAMENT FRENZY

Part three coming soon! Catch up on part one here.

<3

Wednesday, November 20, 2013

Deck the Halls! Part 1

I'm going to be honest with you guys, I've been bit by the Christmas bug. I mean right now you're probably thinking that I'm a little early but not unreasonably early, but I've honestly been planning Christmas crafts since September. The last weeks of October and first few days of November I was making ornaments like a fiend. And that brings me around to the point of this post! I'm going to do a series of posts on the ornaments/general decorations I've been making for my house this holiday season.

First I'm just going to say that in my excitement to try out a lot of different techniques I had seen floating around the web, I forgot to think about the cohesion of all of the different elements. As such, I have no idea how these will all look together on the tree/in the house, but I had fun making them and that's all that matters. Right? Right.

My main inspiration was this image from Pinterest. I really don't know if it comes across at all in what I actually made but it's what I kept coming back to in my mind.

I went to Michael's for star shaped paper mache ornaments, but two other shapes caught my eye. I'm pretty determined to bring holiday decorations into my room this year, and I'm really drawn to the idea of a tiny tree in my room. Since I don't know how expensive tiny trees are though, I figured I could always grab some sticks at a park or something and still hang some ornaments in my room. So with that in mind I made these guys.


Ornament frenzy
Ornament frenzy

There's not really any kind of technique involved; I glittered the diamond shape with a fine grain gold glitter and forgot to take any pictures of the process.

The other one I painted black and glittered every other section with my multi color glitter.


ORNAMENT FRENZY
ORNAMENT FRENZY

I love the way these turned out! They were both incredibly easy, definitely something you could finish in the span of one tv episode. (As I did)

Part two will be coming soon!

<3


Wednesday, October 9, 2013

Knitting

Pink Scarf
Last winter I was eyeing a few oversize scarves on etsy, but I couldn't justify spending so much money on something I could make. When I was cleaning out my closet a few weeks ago I found this pink yarn and decided to put it to use. I went with a simple stitch because I knew I wanted it to be wide so I thought I'd simplify the project where I could. The downside was that I only had two rolls of this yarn so it ended up being a few inches shy of the size I wanted (this is also why it has the world's saddest fringe), but I can wrap it around my neck so I'm calling it a success.

I kind of rushed this for no reason, because LA doesn't have seasons so it's not really like I needed this to protect me from the cold, but a girl can dream. I think next time I'll pick a thicker yarn and possibly larger needles. Also I think I'll add some variations in texture to my next scarf, I got kind of bored of just knitting the same stitch over and over.

Pink Scarf
It's nice to be knitting again!

<3