Showing posts with label christmas. Show all posts

Wednesday, January 7, 2015

Christmas 2014

When you work in retail and have been forced to listen to Christmas carols on repeat since Black Friday, and every day you feel the mounting pressure to make the holiday season special and have the BEST CHRISTMAS EVER, by the time Christmas actually rolls around escaping to the desert sounds pretty awesome.


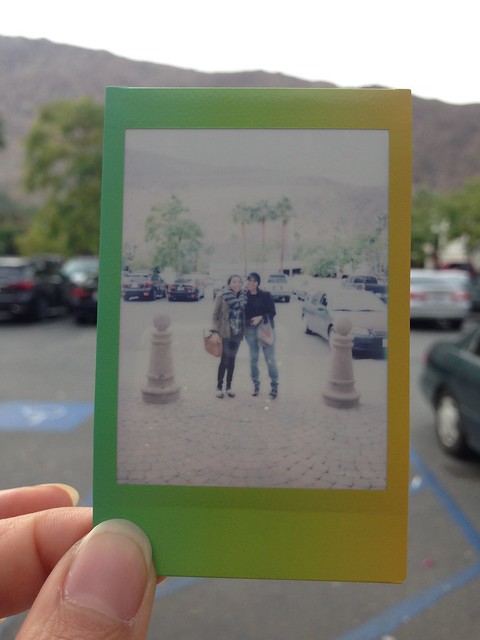
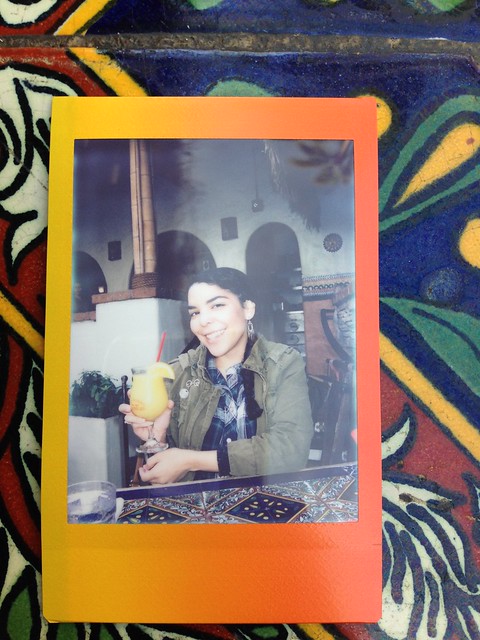
So that's what I did. Me and my mom took off to Palm Springs for the holiday, and it was lovely. In trying to escape all the pressure of the holi-daze, I actually ended up having one of the nicest Christmases I can remember. Shout out to Isabel for reminding me to take my Instax on the trip!

Christmas 2014
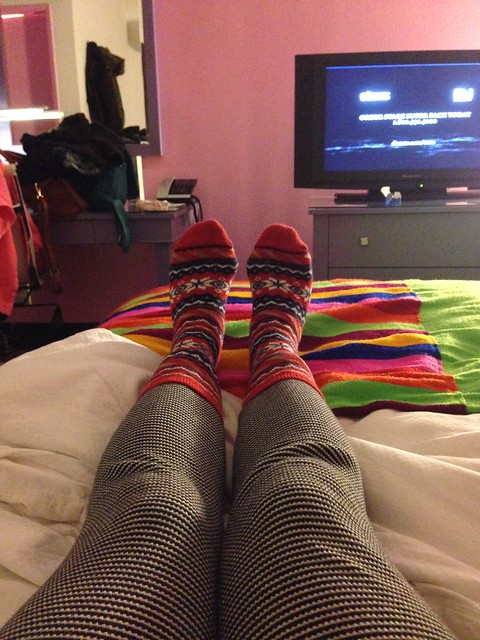
Christmas Eve in my festive jammies
Christmas 2014
Me and my Momma Bear
Christmas 2014
:D
Christmas 2014
Christmas Morning
Christmas 2014

And we still had tamales, which is basically all you need.

<3

Sunday, December 22, 2013

Deck the Halls! Part 5: Bonus Round

I mentioned wanting to have some Christmas decorations in my room, and as much as I wanted a real mini Christmas tree, I had to admit that my mom was right and it probably wouldn't fit in my room. In the end I decided on this mini fake tree that I snagged at Target. I was hoping for a white one, but this gold one has done the job well.

I decorated it with some paper ornaments that I folded following the directions on this pin, as well as the 2 ornaments I had posted about earlier.

The topper on this guy is a little bow I made out of the pages of a magazine I had lying around.

I hope you guys are having a pleasant holiday season!
<3

Tuesday, December 10, 2013

Deck the Halls: Part 4! The finished product

Christmas Tree
I've never felt an emotional connection to a Christmas tree before. The tree is always just there, and it looks pretty but that's where my Christmas tree thoughts end.

Not this year. Seriously every time I walk past the tree I think about how much I love it, and I frequently find myself just staring at it adoringly.

Christmas Tree
So let's talk about this gorgeous thing!

I've already told you about the ornaments and the tree skirt; it's kind of frustrating but mostly hilarious that the glittered stars are the showstoppers on the tree. Hours I spent fringing the other stars and they don't look nearly as pretty as the ones that took 5 minutes. The other ornaments are the ones we had already. We have some colored ones but we decided to go for a silver, gold, and blue theme this year.

Christmas Tree
Christmas Tree
Christmas Tree
Christmas Tree
The top is what I am most proud of. Me and my mom were in Macy's in September (not an exaggeration, it was literally September) and they had Christmas trees up already. In all the trees they had flowers or feathers bunched up at the top and we really liked the look of it, so when we went to Michaels on our Christmas craft excursion we got a few bunches of fake flowers to try to recreate the look. It turned out to be incredibly easy and I love the way it makes the tree look. We just cut the flowers off the main stem with a wire cutter and stuck them in! That's all it took, and the tree instantly looked more posh.

Christmas Tree
Christmas Tree
The tree topper is the first real tree topper we've ever had, we bought it at Target this year. Usually we use this paper angel that I colored in the 3rd grade, but I thought it was time for an upgrade.

Honestly, this tree gives me so much happiness that I'm starting to understand people who leave their trees up all year. Although I'm probably not going to do that. Probably. No promises.

Christmas Tree

Monday, December 2, 2013

Deck the Halls! Part 3

Christmas Tree
Our old tree skirt was really lacking in pizazz. It was just plain white felt that was starting to look pretty shabby, and it was way larger than it needed to be. I saw these pins a while back and decided to combine the two concepts to make an embroidered constellation tree skirt.

Though I used the above pins as my inspiration, I followed Rachel's tutorial. I started out with a yard of blue felt that I ordered on etsy to use as the night sky background, and some white embroidery floss I picked up at Michael's. I followed Rachel's instructions for cutting out a circle, and then I made a little paper mock up of what my constellations would look like. I was just sketching it out tentatively, but I stuck really close to my model.

tree skirt
tree skirt
tree skirt
When it came time to embroider, I watched a youtube video to teach me how to made a french knot and basically just plunged in. It was really easy to work with the felt; it's stiff enough that I didn't need to use an embroidery hoop which made the whole process a lot faster.


I'm so happy with the result! Seeing it under the tree makes me wonder why we needed such a giant tree skirt before.
Catch up on the earlier deck the halls posts: 1/2

Saturday, November 23, 2013

Deck the Halls! Part 2

So for the second installment of this series I'll talk about the star shaped ornaments that inspired my trip to Michael's in the first place.

Again, these were inspired by a pin (this is a trend you'll see carry out for the rest of the Christmas crafts). I loved the look of these piƱata-esque star ornaments so I decided to try to make some. I started out with 6 paper mache stars and painted them all a pearl white that I found in the craft closet.

After the base coats were all dry I set out cutting and fringing strips of paper in 5 different colors. I chose gold, silver, and blue mylar with white and blue tissue. Once I had the paper cut and fringed I covered each facet of each star. These ornaments were substantially more time consuming, which is why halfway through I decided three was probably enough. I love the look of the finished product but in the future I'll probably stick with just tissue paper on a project like this. The mylar did not want to cooperate with being glued down to the star base. So if you take on something like this, just keep that in mind.

ORNAMENT FRENZY
ORNAMENT FRENZY
ORNAMENT FRENZY
ORNAMENT FRENZY
ORNAMENT FRENZY

After hours and hours of fringing paper, I wanted to do something easy with the last three stars. I was really happy with how the pearl white came out, so I decided to glitter the lines and leave it at that. Some of them ended up a little sloppier than others, but they're going to look dazzling on the tree and that's all that matters.


ORNAMENT FRENZY

Part three coming soon! Catch up on part one here.

<3

Wednesday, November 20, 2013

Deck the Halls! Part 1

I'm going to be honest with you guys, I've been bit by the Christmas bug. I mean right now you're probably thinking that I'm a little early but not unreasonably early, but I've honestly been planning Christmas crafts since September. The last weeks of October and first few days of November I was making ornaments like a fiend. And that brings me around to the point of this post! I'm going to do a series of posts on the ornaments/general decorations I've been making for my house this holiday season.

First I'm just going to say that in my excitement to try out a lot of different techniques I had seen floating around the web, I forgot to think about the cohesion of all of the different elements. As such, I have no idea how these will all look together on the tree/in the house, but I had fun making them and that's all that matters. Right? Right.

My main inspiration was this image from Pinterest. I really don't know if it comes across at all in what I actually made but it's what I kept coming back to in my mind.

I went to Michael's for star shaped paper mache ornaments, but two other shapes caught my eye. I'm pretty determined to bring holiday decorations into my room this year, and I'm really drawn to the idea of a tiny tree in my room. Since I don't know how expensive tiny trees are though, I figured I could always grab some sticks at a park or something and still hang some ornaments in my room. So with that in mind I made these guys.


Ornament frenzy
Ornament frenzy

There's not really any kind of technique involved; I glittered the diamond shape with a fine grain gold glitter and forgot to take any pictures of the process.

The other one I painted black and glittered every other section with my multi color glitter.


ORNAMENT FRENZY
ORNAMENT FRENZY

I love the way these turned out! They were both incredibly easy, definitely something you could finish in the span of one tv episode. (As I did)

Part two will be coming soon!

<3