
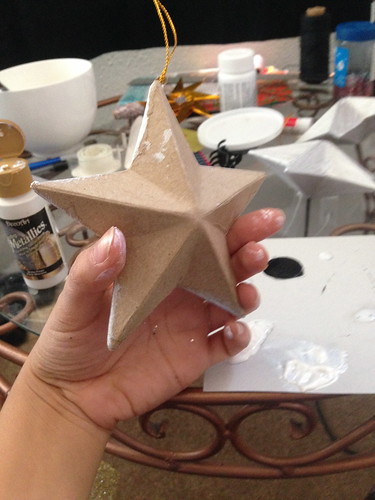
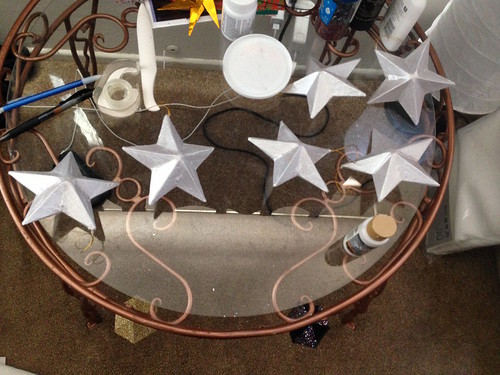
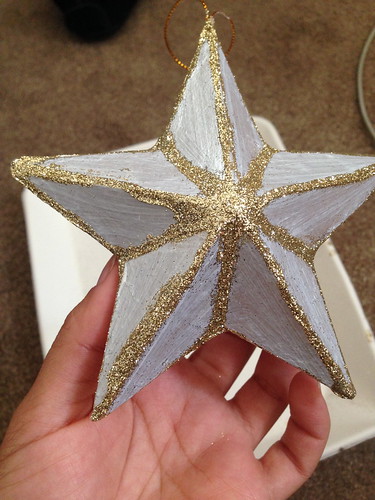
Again, these were inspired by a pin (this is a trend you'll see carry out for the rest of the Christmas crafts). I loved the look of these piñata-esque star ornaments so I decided to try to make some. I started out with 6 paper mache stars and painted them all a pearl white that I found in the craft closet.
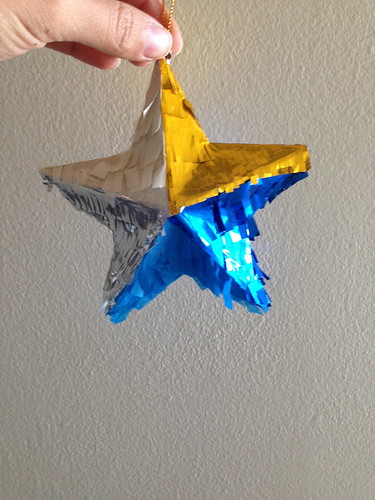
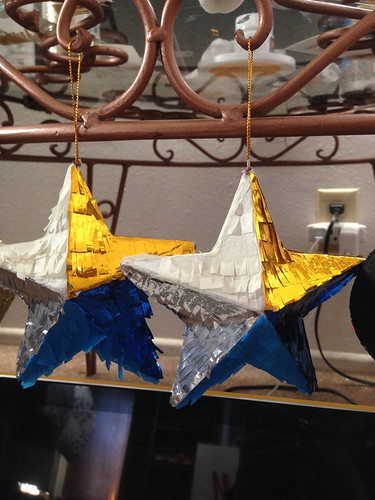
After the base coats were all dry I set out cutting and fringing strips of paper in 5 different colors. I chose gold, silver, and blue mylar with white and blue tissue. Once I had the paper cut and fringed I covered each facet of each star. These ornaments were substantially more time consuming, which is why halfway through I decided three was probably enough. I love the look of the finished product but in the future I'll probably stick with just tissue paper on a project like this. The mylar did not want to cooperate with being glued down to the star base. So if you take on something like this, just keep that in mind.

After hours and hours of fringing paper, I wanted to do something easy with the last three stars. I was really happy with how the pearl white came out, so I decided to glitter the lines and leave it at that. Some of them ended up a little sloppier than others, but they're going to look dazzling on the tree and that's all that matters.
Part three coming soon! Catch up on part one here.
<3
No comments:
Post a Comment